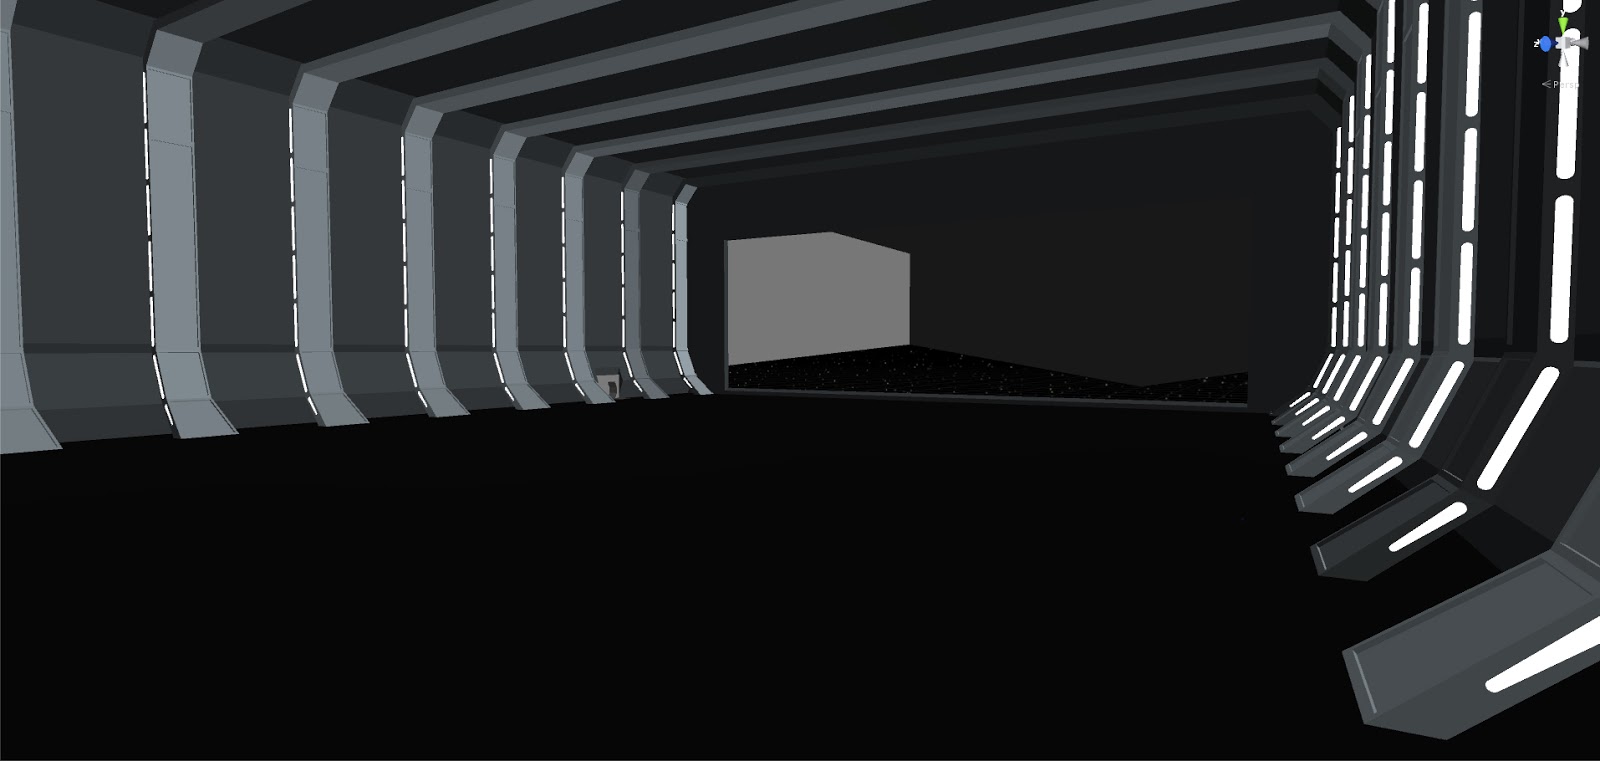
Continuing from part 1 is progress on my 3D model of the Death Star. This time focused on just interior corridors. One of the technical goals is to really take advantage of Unity 5's baked lighting system.
Main Corridor Pillars: December 11, 2015
Main Corridor Unity Baked Lighting: December 12, 2015
Two Versions of Blast Door Panels: December 12, 2015
Alternate Main Corridor: December 13, 2015
Docking Bay: December 13, 2015
Central Core Corridor: December 13, 2015
Central Core Unity Baked Lighting: December 13, 2015
With the semester almost over, I found some time to do some more 3D modeling. This time the Death Star. Using a similar method to The Enterprise, I collected several bluepoints and screencaps of the Death Star as seen in the films.
Relatively simple Death Star model drawn at scale (120 km): November 11, 2015
For the interior, I started with the 'Ramped Corridor' where Luke and Leia engaged in a firefight with stormtroopers before swinging across the chasm. This was a good starting point since it was easier to determine the actual dimensions of the space with the actors near the walls.
This is also the first modeling project I'm using the project timer add on for Blender. The first five images below screenshots represent progress after two hours of modeling work.
'Ramped Corridor': December 5, 2015
Elevator Shafts: December 5, 2015
Main Corridor: December 5, 2015
Main Corridor in Unity: December 5, 2015
Stormtrooper for scale: December 5, 2015
The following set took another two hours of work since it required much more attention to detail and looking at screencaps. Time here was divided by interior wall panels plus some exterior details.
Large blast door and wall panels: December 6, 2015
Test lit corridor:December 6, 2015
In addition working on the corridors above, I also started augmenting the Death Star sphere model I had done in November. Using measurements on Wookieepedia and http://www.st-v-sw.net/STSWdeathstarsizes.html, I was able to add the docking bays in the equatorial trench as seen in the matte paintings in A New Hope when the Millennium Falcon is pulled into the Death Star.
Equatorial Trench: December 6, 2015
Docking Bays with the Millennium Falcon for scale: December 6, 2015
Imperial Star Destroyer also for scale and fun: December 6, 2015
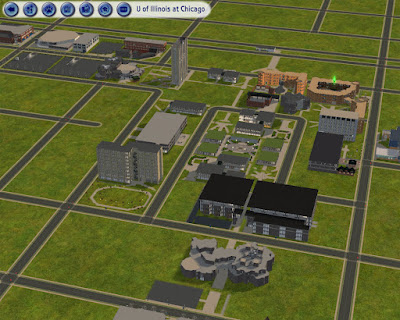
Creating 3D models of UIC isn't a new project for me. Freshman year I started modeling the campus using The Sims 2.
UIC East Campus in The Sims 2 (2007)
Creating an accurate scale model of the Science and Engineering Offices was a real throwback to my high school CAD drafting classes - taking floor plans and extruding them up. Like most of my recent modeling work: Modeled in Blender, rendered in Unity.
First and Second Floor Plans with partial walls: September 24, 2015
Major support columns extended to building height: September 24, 2015
Scissor Staircase Detail: September 24, 2015
I've always had an interest in architecture and Walter Netsch design for the UIC campus is no exception. As much as I share my fellow students' feelings on the 'concrete campus with thin tinted windows giving the feeling of perpetual nighttime', I still find the brutalist style of architecture an interesting aesthetic.
I've considered making an accurate scale model of the campus (both current and the original 60's campus with the second floor walkways) and this might be the first step in that direction - not that I need any more side projects.
Completed first draft of exterior: September 24, 2015
Still some details left to add such as the roof, doors, and hallway end windows. But this was model was surprising quick to assemble at this detail. I suppose those years or working on Enterprise is finally paying off (or at least contributing to an EVL project that isn't just one of my side projects).
While there's probably AI and interaction work to do, there's always something inspirational about just sitting down and modeling something.
Initial Modeling: July 26, 2015
Hangar Door Details: August 7, 2015
There are so many variations to how TIE Fighters are docked either on the ground or on the ceiling. Basically went with a combination of Star Wars: Trilogy Arcade, Rebellion, The Empire Strikes Back Special Edition, and Jedi Knight II.
Most of the 3D models I tend to make are inorganic objects such as buildings and spaceships because my knowledge of character modeling comes from a few Google searches and Blender's Gingerbread Man tutorial, so the results have been decent at best.
Starfleet Officer: February 11, 2013
Sometime in 2014 I starting playing around with MakeHuman. Being a Sims player from The Sims 1 through 3, I got used to character creation sliders than seem to be in just about every RPG game these days (Mass Effect, Dragon Age, Fallout, etc.). Not to mention the models can be exported fully rigged - saving me the trouble of rigging it myself and getting more 'Woody from Toy Story' looking joints. Not to mention having a good base body model made it a lot easier to model custom clothing over it - such as a Wrath of Khan officer's uniform (I promise I'm almost done with the Star Trek content on this post)
Starfleet Officer based on MakeHuman (left) and my original model (right): April 27, 2014
Base model used for the Stormtrooper: May 1, 2014
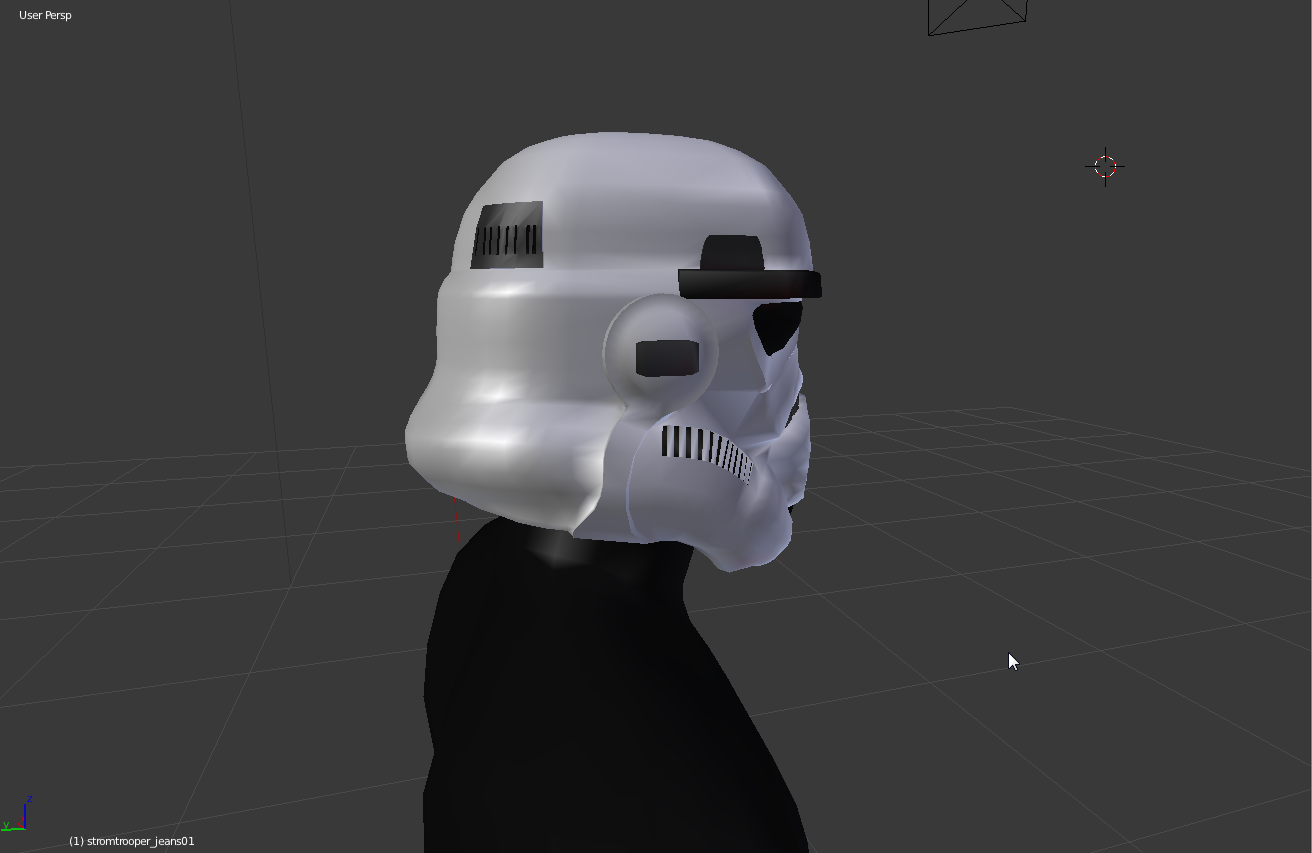
Like most of my models, I started by a Google search for "Stormtrooper armor" looking for blueprints, reference photos, and any measurements or diagrams with dimensions I can find. Since my 3D modeling experience is based on a computer-aided drafting class I took in high school, I tend to work from isometric views and extrude the model into 3D.
Stromtrooper Helmet: May 1, 2014
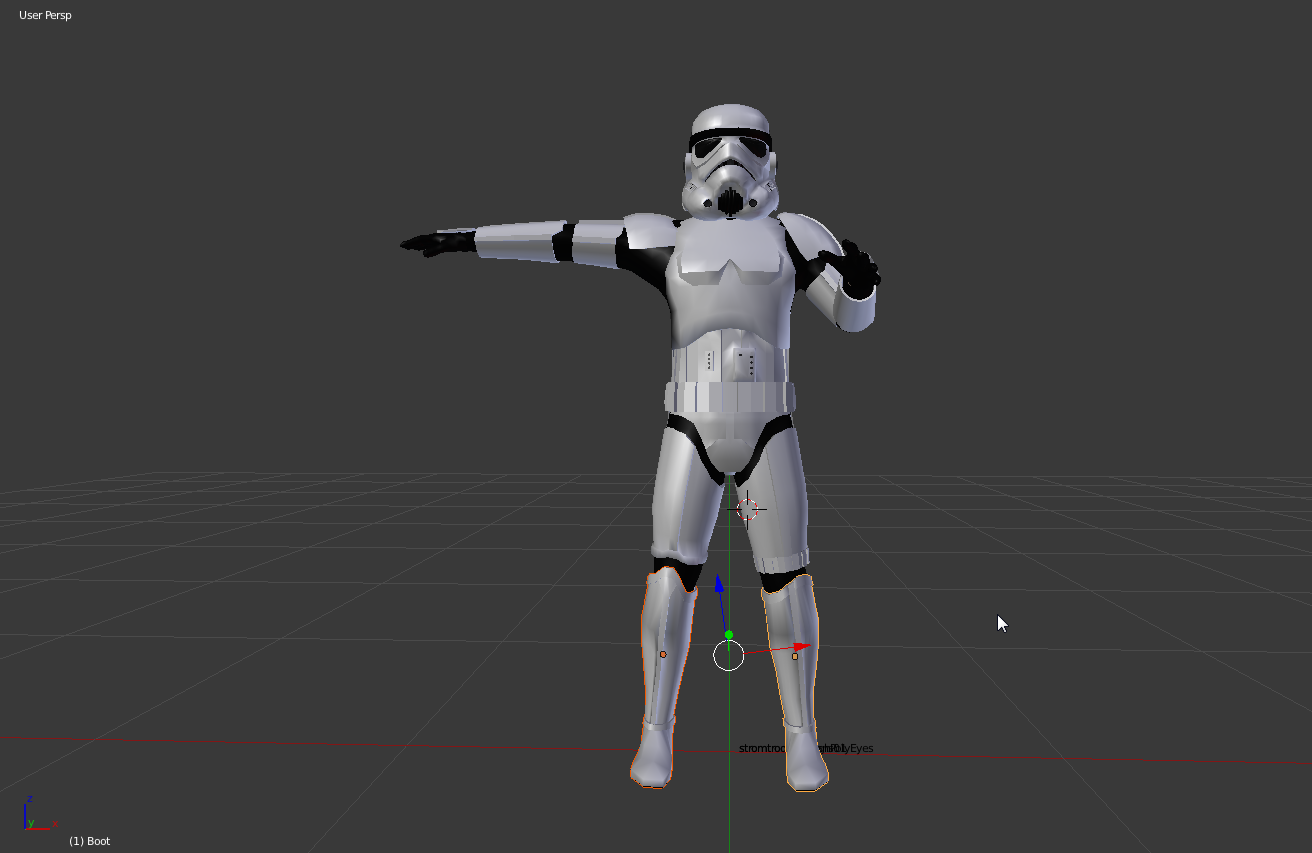
Chest plate and shoulder pad: May 3, 2014
Biceps and Bracers: May 6-7, 2014
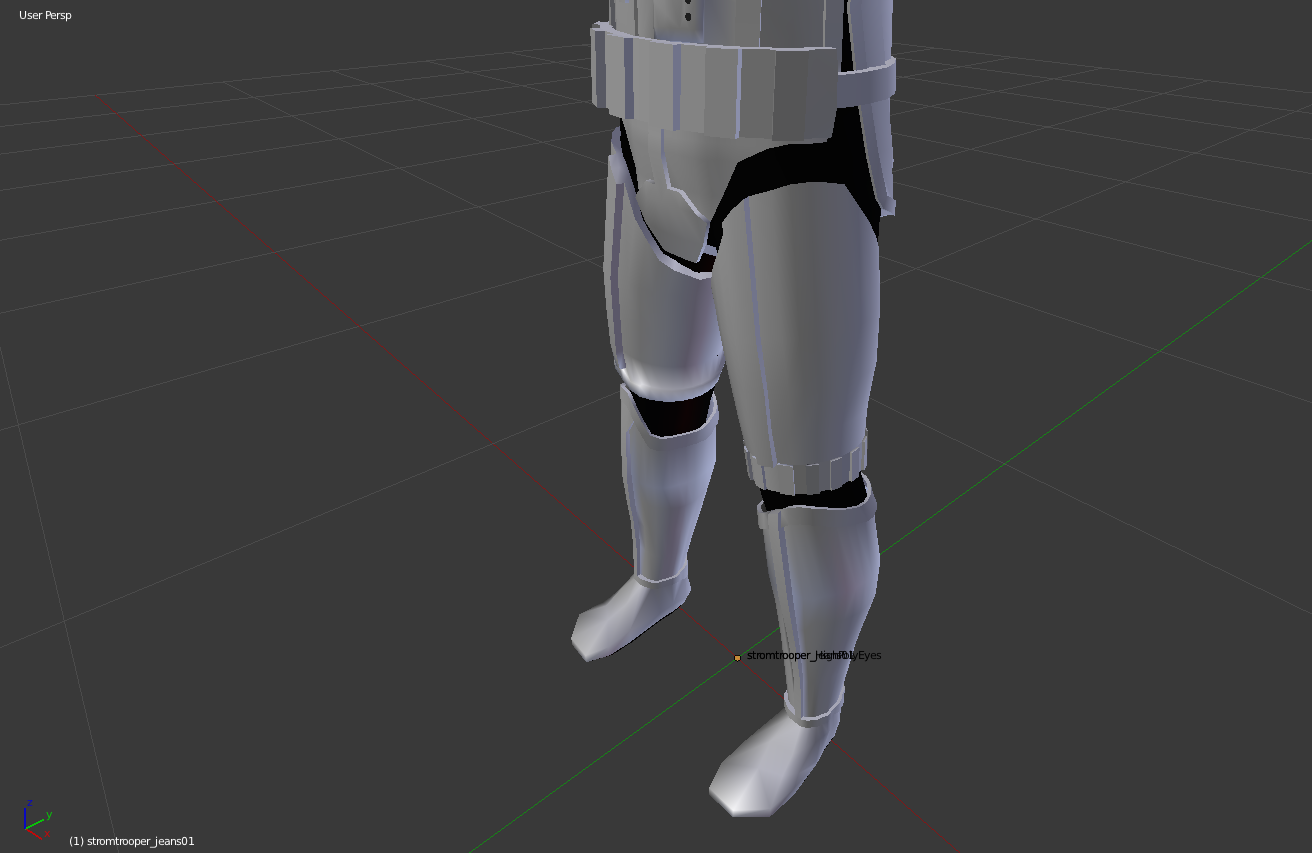
Leggings, Boots, and Belt: May 15, 2014
E-11 Blaster Rifle: May 15, 2014
So almost a year passes and after some teaser trailer in April, I decide that my summer project will be Star Wars in CAVE2(TM). As if I needed this project to get more complicated, I'm working on both the original Starfighter flight and a ground shooter components. The goal is to have a demo video ready by holiday 2015 for some reason.
My previous character model animations were manually keyframed in Blender. However by this point, Unity had upgraded it's animation system to Mecanim and has some nice examples for using it (such as the Mecanim Locomotion Starter Kit).
Stormtrooper in Unity: April 25, 2015
While I'm at it, I started playing around with inverse kinematics to have the Stormtrooper aim at a particular object.
Aiming far more accurately than a Stormtrooper should: April 25, 2015
Like most of what I do in Unity, eventually it finds it's way into EVL's CAVE2(TM). Also gave me an excuse to use multiple head trackers (one for the camera, one for my head for the Stormtrooper to aim at), and multiple tracked wands (the blaster in my hand and the other weapon on my belt). Also calibrated the tracking system to make sure the handle of the blaster lined up with the wand (legit research work right?).
I have a bad feeling about this: May 4, 2015
This of course leads to the first virtual reality First-Person Shooter example for a CAVE2(TM) System:
Stormtroopers in CAVE2: June 12, 2015
Building that example also taught me Unity NavMeshes and more in depth with the animation system. Shooting and death animations were still keyframed in Blender (Spent a whole 20 seconds on those).
Currently busy upgrading to Unity 5 and some cluster sync issues.